|
MAKING
A JARED BOX
The Jared
Box Project is a great service project for groups of all ages.
The project is easy to organize, inexpensive and can benefit
children the hospital in YOUR community. Groups such as schools,
churches, scouts, service organizations, businesses and civic
groups make Jared Boxes.
STEP
1
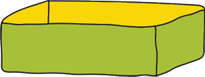
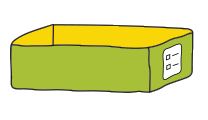
Purchase a shoebox size plastic storage box. They are inexpensive
and are readily available at dollar stores and other retailers.
STEP
2
Decide if the box you are making is for a boy
or a girl, and select an age group. Use a marker and check
off your choice on the Girl/Boy label.
STEP
3
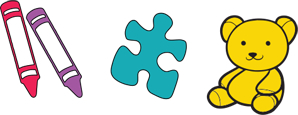
Select items for your box, such as crayons, card
games, puzzles, or stickers. Refer to our Suggested
Toy List for more ideas. You can print the list
on the link or refer to list
below.
Place toys in the box.
STEP
4
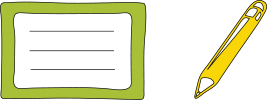
Print our "Little
Note From You" Card These can be printed in color
or black and white on white cardstock. Write a personal note
on the card and place it in the box.
STEP
5
Print
the Box Label (top) - Logo. This template can be
printed on Avery Labels 15264, or any standard white shipping
labels, six per sheet, 3 1/3" x 4" label size. Place the Jared
Box label on the lid of the box. If
you are not able to print labels, you can print on standard
paper, cut out labels, and tape them to boxes.
STEP
6
- Print
labels for your box - Boy/Girl.
- This template can be printed on Avery Labels 18163,
or any standard white shipping labels, ten labels per
page, 2" x 4" label size.
- Place the Boy/Girl label on the end of the box.
- Check the appropriate gender and age.
- If you are not able to print labels, you can print
on standard paper, cut out labels, and tape them to boxes.
STEP
8
Decorate your box. You can line the box with colorful tissue
paper and use stickers to decorate the outside of the box.
STEP 9
Deliver your boxes to your local hospital. Use our Hospital
Directory to locate a hospital or deliver the boxes
to your local hospital. We are always looking to add new hospitals.
If you would like to deliver your boxes to a new hospital
not on our list, you may contact that hospital directly. The
Child Life or Volunteer Services Departments usually handle
donations
Official website of The Jared Box Project:
https://www.thejaredbox.com/
|